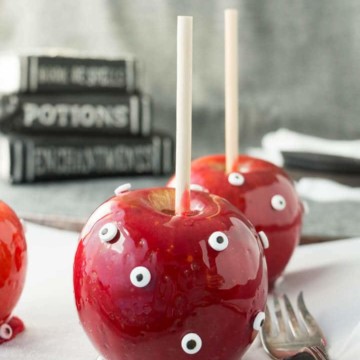
These easy homemade candy apples are a must for fall! Using a candy apple kit is the secret of how to make candy apples the easy way. Best of all, the candy eyeballs give them a spooky look that’s perfect for Halloween.
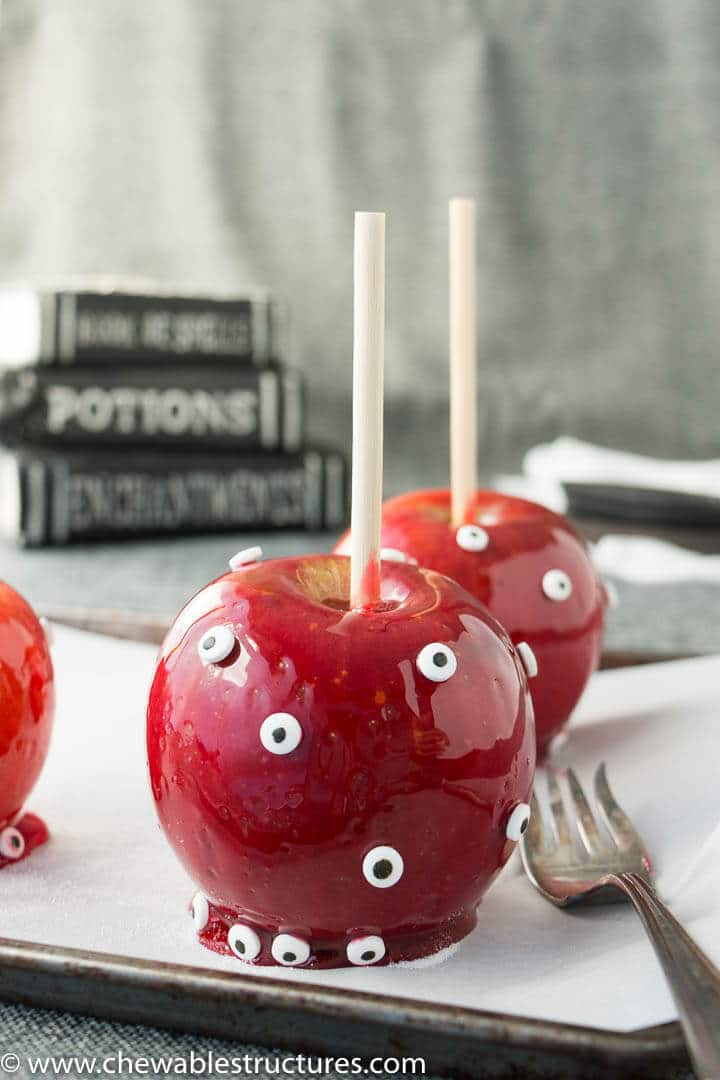
Why this recipe works
- Simplify things by using a premade candy apple kit
- Make homemade edible gifts for your Halloween guests. Just wrap the candy apples in clear plastic and tie with a twist tie.
- Fun recipe for baby showers and birthday parties (just skip the candy googly eyes.)
[popout_newsletter]
You can click on the links below to jump straight to the section you need.
Jump to:
- Why this recipe works
- Helpful tips
- Ingredients
- Equipment
- Substitutions
- What causes candy apples to get sticky?
- How do you make candy apples without a thermometer?
- Should you store candy apples in the refrigerator?
- Watch my recipe video
- Try these recipes too!
- Subscribe to Chewable Structures
- How To Make Candy Apples For Halloween
Planning a spook-tacular menu for your October gathering? Check out all of my Halloween recipes on the blog. From healthy recipes like vegetarian Halloween pizza to Halloween rice krispie treats, there’s something that will delight everyone’s taste buds.
Candy apple and caramel apple recipes can be tricky, especially if you’re starting from scratch. But the candy apple kit I used makes this dessert a breeze! It even already has light corn syrup, you won’t need to have any on hand to make the candy mixture — just water and sugar!
Keep reading for the full recipe and my best tips for perfect homemade candy apples. And if you try it out yourself, be sure to comment down below and share your thoughts!
Helpful tips
Tip 1: Be careful!
The candy mixture gets very hot, so please be very careful when you make this recipe.
Tip 2: Tips About The Candy Apple Kit
I suggest buying 2 candy apple kits, just in case you burn the first one. The hard crack stage of the candy syrup is 302 degrees Fahrenheit. If you don’t watch it carefully, it can quickly burn and turn brown. At this point, it will smell burnt and taste bitter. So, you’re better off throwing it out and starting over. Buy 2 candy apple kits and save yourself the headache!
Although the Concord Foods Candy Apple Kit that I used comes with sticks, I prefer these sharp apple sticks. They feel much sturdier and will support heavier apples.
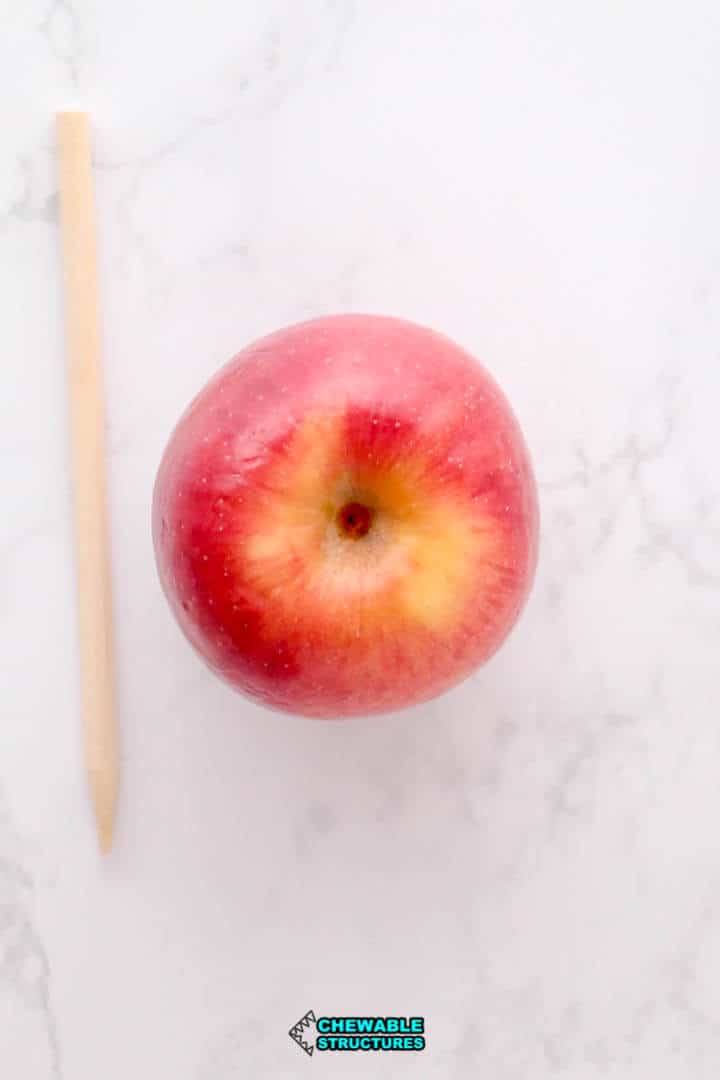
Tip 3: Make sure to sprinkle sugar on top of the parchment paper
The base of the candy apple will stick to the sugar, which helps prevent the candy from sticking to other surfaces when you remove it from the parchment paper.
Tip 4: Tart apples taste best
Although you can use any kind of apple for this recipe, I'm using Fuji apples because that's my fave type of apple. You can also use a tart variety like Granny Smiths or McIntosh apples. The sweetness of the candy coating perfectly complements the tart apples. Here’s a helpful apple guide outlining various apples and their corresponding sweetness.
Tip 5: If the candy mixture is brown, it’s already burnt!
Keep a close eye on the candy mixture when it’s on the stove because there’s a small window where the candy reaches the correct temperature, then immediately burns. The mixture should be a bright red color. If it starts to turn dark red or brown, then it’s already burnt. It will also smell burnt. Unfortunately, you will need to throw away a burnt batch.
When the candy mixture is done, it should look bright red as seen in the below image.
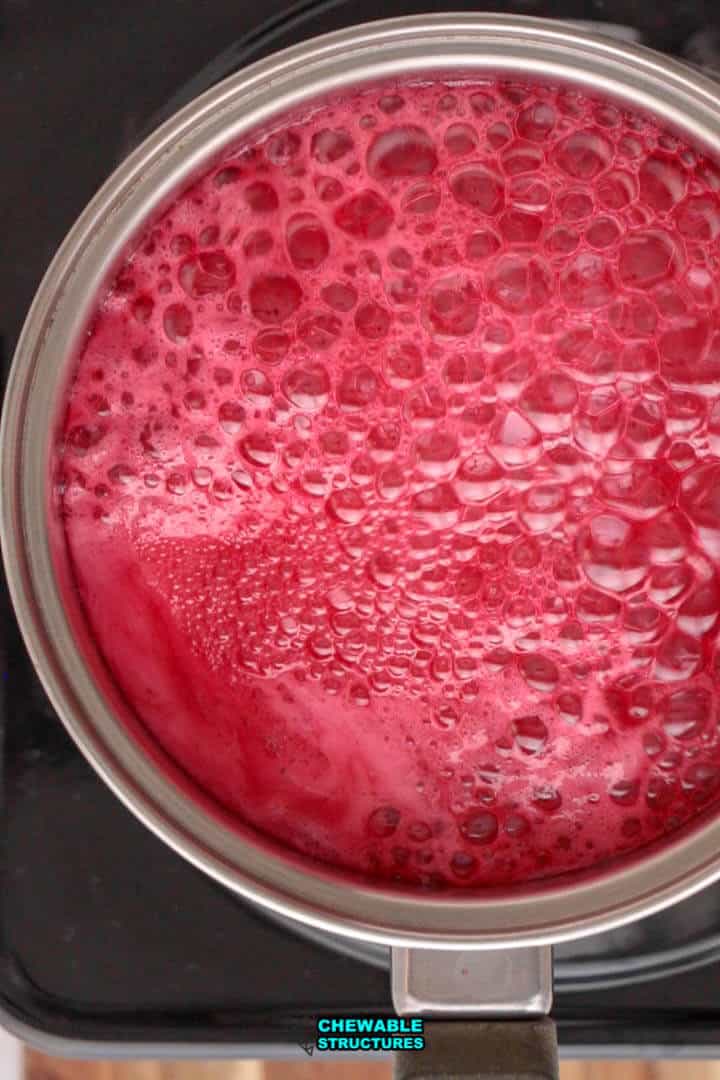
Tip 6: This is how you get a thin, crispy candy layer
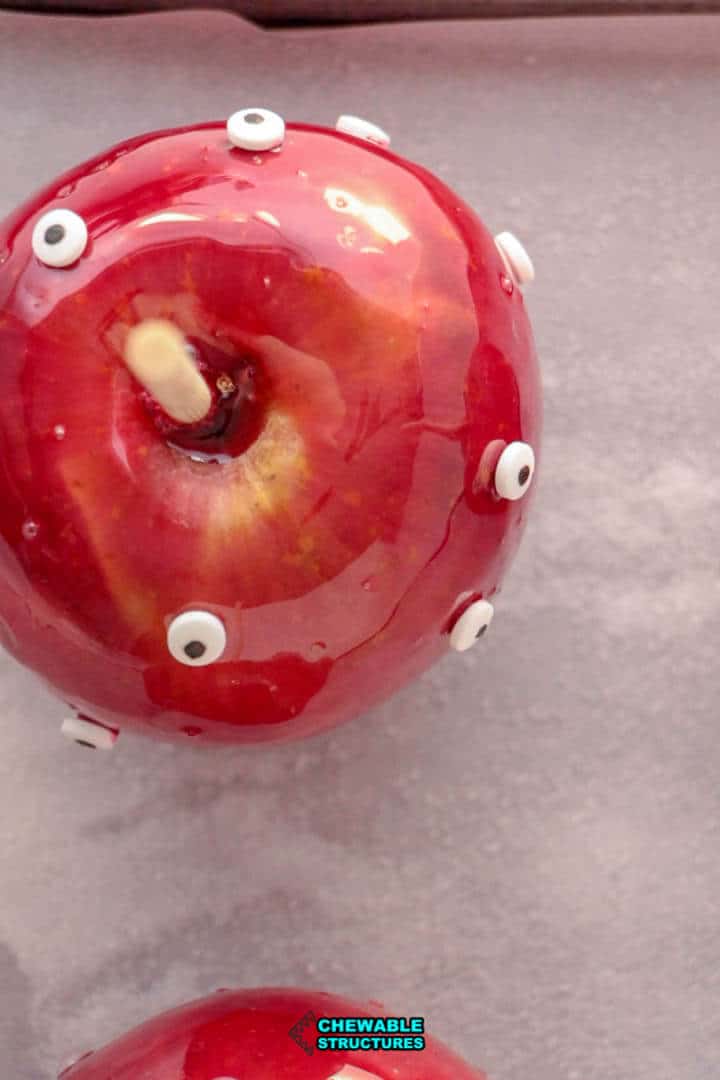
When the candy mixture is ready, I like to tilt the pot, dip the apple into the candy mixture, and rotate once or twice. This will give you a thin, crispy outer layer of candy. If you rotate the candy apple in the mixture too long, you’ll get a thick outer candy crust that’s hard to bite into.
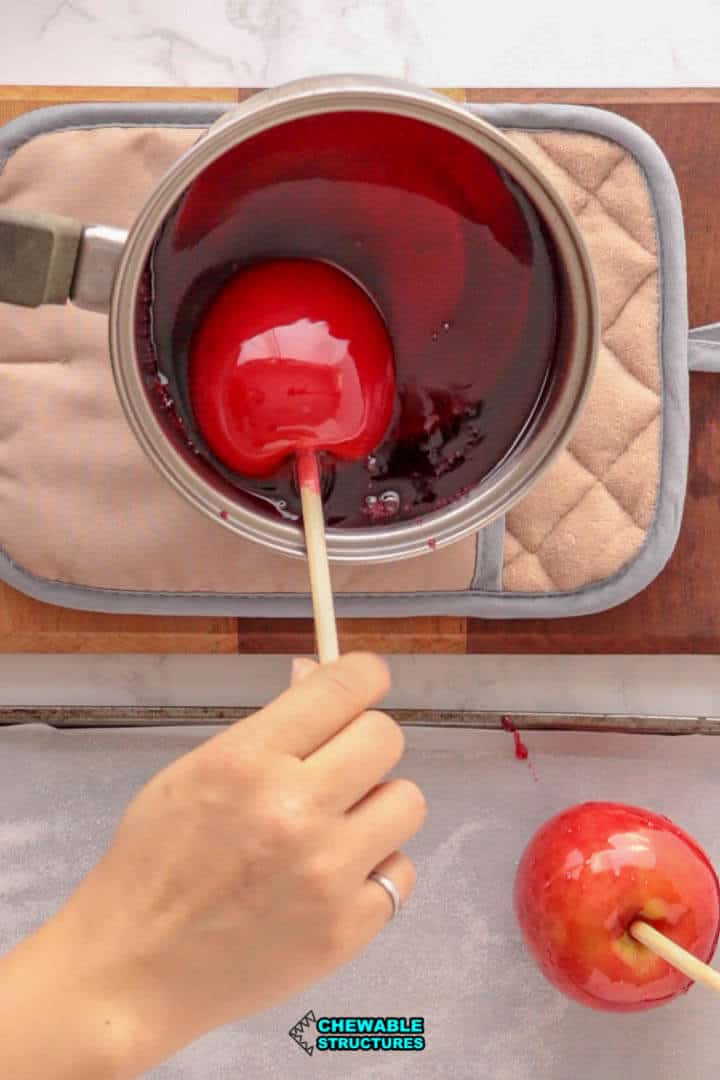
Ingredients
- The Concord Candy Apple Kit is the best one I’ve tried yet. It has the flavoring, corn syrup, and red food coloring so you only need to add sugar and water. They even have a kit for caramel apples if you’d like to try both.
- Water and sugar are all you need to add to the apple kit mix. Be sure to measure it out accurately and follow what each step of the directions says to get the candy consistency just right.
- You can’t have candy apples without the apples! I used Granny Smith for this recipe. The apply kit makes approximately 10 apples.
Equipment
- Parchment paper dusted with sugar helps prevent the coated apples candy from sticking.
- Apple sticks are essential for dipping and eating these treats. The Concord Farms kit comes with some, but I prefer using these sharp apple sticks because they’re sturdier.
- Wilton candy eyeballs transform your apples into a spooky dessert!
- A candy thermometer is the best way to tell whether your sugar mixture is hot enough. If you can’t get your hands on one, you can use the ice water test I mention down below.
Substitutions
- Parchment paper: Feel free to line your surface with wax paper instead of parchment to prevent your apples from sticking.
- Candy eyeballs: The eyeballs are optional, but you can substitute them with spooky sprinkles or other small candies.
- Apple sticks: Wooden chopsticks or popsicle sticks would be harder to insert into your apples, but they still make a great substitute for apple sticks!
What causes candy apples to get sticky?
If candy apples are kept in a warm or humid place, they’ll become sticky on the outside. Store your homemade candy apples in a dry, cool area or in the fridge to prevent this from happening.
How do you make candy apples without a thermometer?
To make this candy apple recipe, you need to heat your sugar mixture until it reaches the hard crack stage (300-310 degrees Fahrenheit). Although it is much easier to check the temperature with a thermometer, you can also use this test:
- Take a clean spoon and scoop up some of the hot candy mixture.
- Drop the syrup into a glass of ice cold water.
- If the mixture forms into brittle, hard threads and makes a cracking noise as it hits the water, you’ve reached the hard crack stage!
Should you store candy apples in the refrigerator?
I would definitely recommend storing these Halloween candied apples in the refrigerator, especially if you’re making them in advance. This will help them last longer and prevent them from getting sticky at room temperature.
Watch my recipe video
Want to see exactly how I made my easy candy apples? Check out my recipe video below for extra tips!
Try these recipes too!
- Check out my entire Halloween recipe collection
- Serve spooky ghosts made of peanut butter and jelly sandwiches
- Prepare this spooky Halloween pizza recipeBuild a 3-D haunted house made of chocolate brownies
Subscribe to Chewable Structures
*** All products purchased by me. Please note that all my links should be considered affiliate links, which helps support this content. Thanks for your support!
How To Make Candy Apples For Halloween
Ingredients
Ingredients:
- 1 Candy apple kit (by Concord Foods)
- 1 cup water
- 2.5 cups sugar
- 10 small apples (2.5” to 3” in diameter)
Equipments
- Apple sticks
- Wilton candy eyeballs
- Candy thermometer
Instructions
- Follow the pre-made Candy Apple Mix Instructions for your specific candy apple mix.
- Prepare the apples and baking sheet: Wash and dry the apples. Remove the apple stem and pierce the top of the apple with a sharp candy stick. Line a flat baking sheet with parchment paper. Sprinkle sugar on top of the parchment paper.
- Heat up the candy coating: In a medium sized pot, add the candy mix, sugar and water. Using a small whisk, stir the mixture until combined. Heat up the candy mixture on low to medium heat. (Note: do not stir the mixture anymore. Leave it alone and let it heat up. Be very careful!)
- Check the candy coating: Using a candy thermometer, heat up the candy mixture until it reaches 302°F. Turn off the heat.
- Carefully dip the apples in the candy mixture: Holding the wooden candy stick, dip the apple into the candy mixture and rotate once or twice. Then, quickly remove the apple and place on the baking sheet.
- Let it cool for 15 minutes, then add the candy eyeballs. Let it completely cool before eating. If you want to prepare these the day before, then store them in an airtight container in the fridge.


Leave a Reply