Making homemade gummy bears is fun for kids and adults, especially with this easy recipe! This recipe tastes great with corn syrup or clover honey.
It only takes 10 minutes to stir up the gummy candy mixture before it sets in the fridge. You can even give these gummy bears as edible gifts!
Why you should make this recipe
- Flexible recipe that works well using corn syrup or honey
- Removing the top foam from the candy mixture yields a smooth gummy
- Lots of helpful tips so your gummy bears easily pop out of the mold
- Quick to make at home using simple tools and ingredients
- Fun activity for kids and adults
Jump to:
Tips on how to make gummy bears
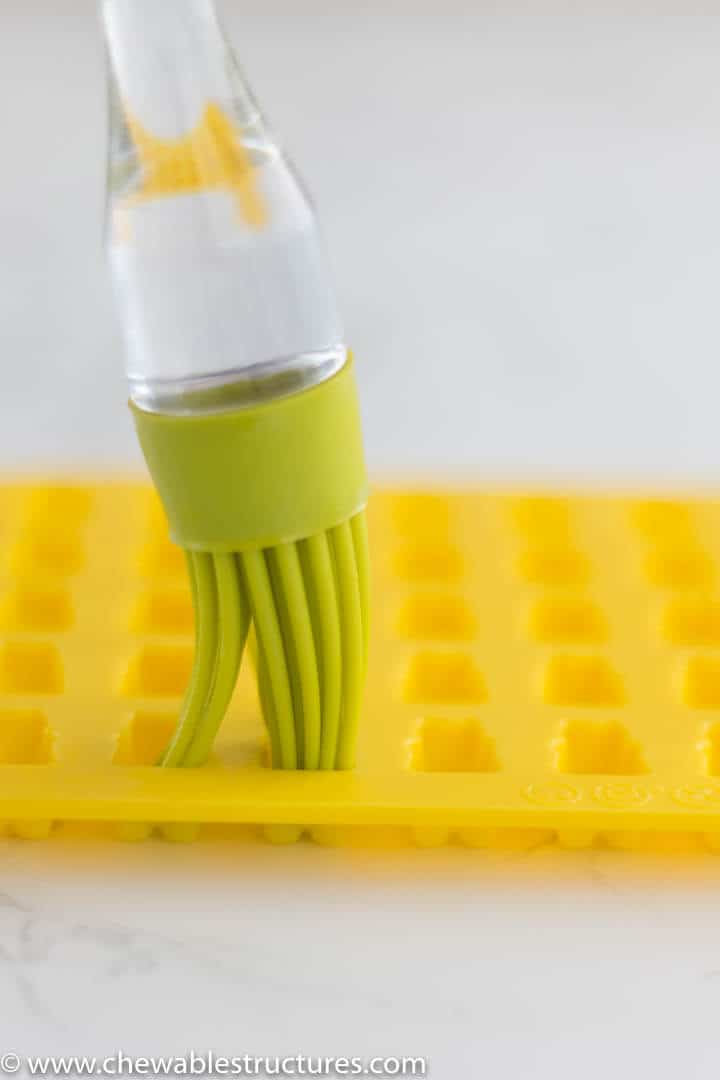
Tip 1: Grease Up The Gummy Bear Mold
Spray vegetable oil on the gummy bear mold before adding the gummy candy mixture; otherwise your gummies will stick to the mold and to each other. If you don’t have vegetable spray, add 2 tsp of vegetable oil to a small bowl. Then, dip a silicone brush into the oil. Poke the bristles into each crevice of the gummy bear mold. Below is what I'm talking about.
Tip 2: Place The Gummy Mold On A Baking Sheet
To prevent spilling, it helps to put the gummy mold a baking sheet, then fill it with the gummy mixture. Eventually, the gummy mold is moved to the fridge.
Tip 3: Remove The Top Foam
Before you pour the gummy bear mixture into the squeeze bottle or eyedropper, use a small spoon to remove the top foam by skimming the surface. This is similar to the way you would remove excess grease from gravy. If you don't remove the top foam your gummy bears will be covered in tiny little bubbles.
Tip 4: If The Gummy Candy Hardens Before You Get It Into The Gummy Mold
Don't worry just reheat the gummy mixture on medium low heat in a small saucepan. Or, place it in a microwave safe dish and microwave it on high for 2o seconds.
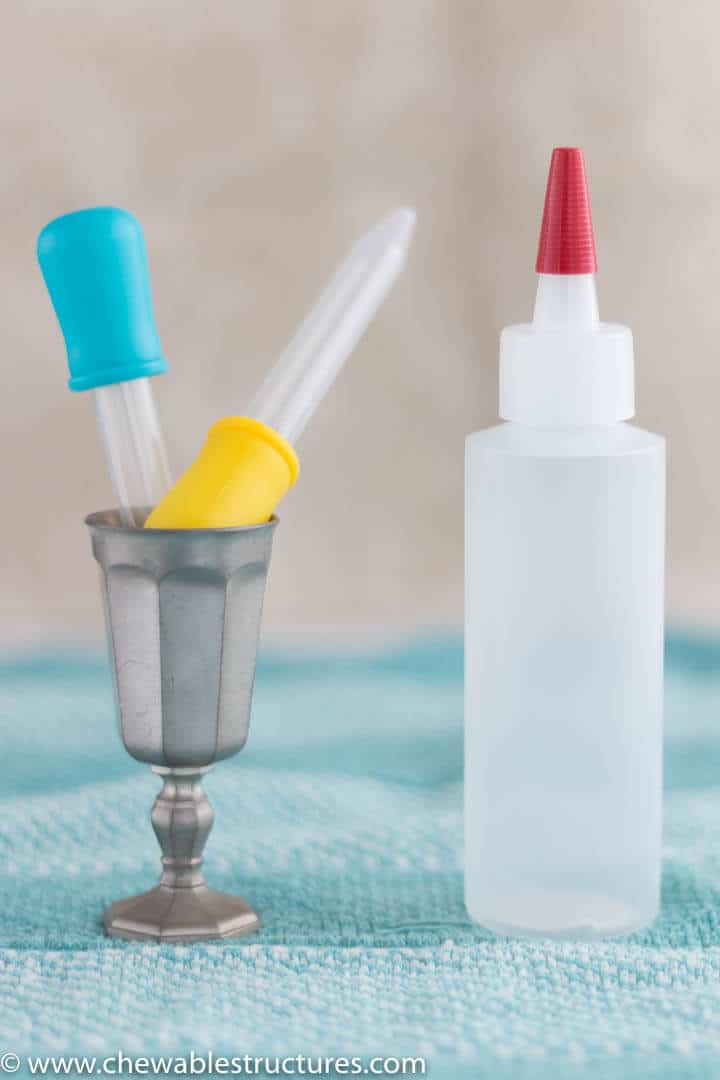
Tip 5: Speed Things Up With Plastic Squeeze Bottles Instead of The Eyedropper
Although gummy bear molds usually include a small eyedropper, I always use a 4oz plastic squeeze bottle instead. Why? Every time you refill the eyedropper it sucks up tiny air bubbles, which then create tiny bubbles in your gummy mixture. Plus, the squeeze bottles can hold more mixture so you don’t waste time constantly refilling.
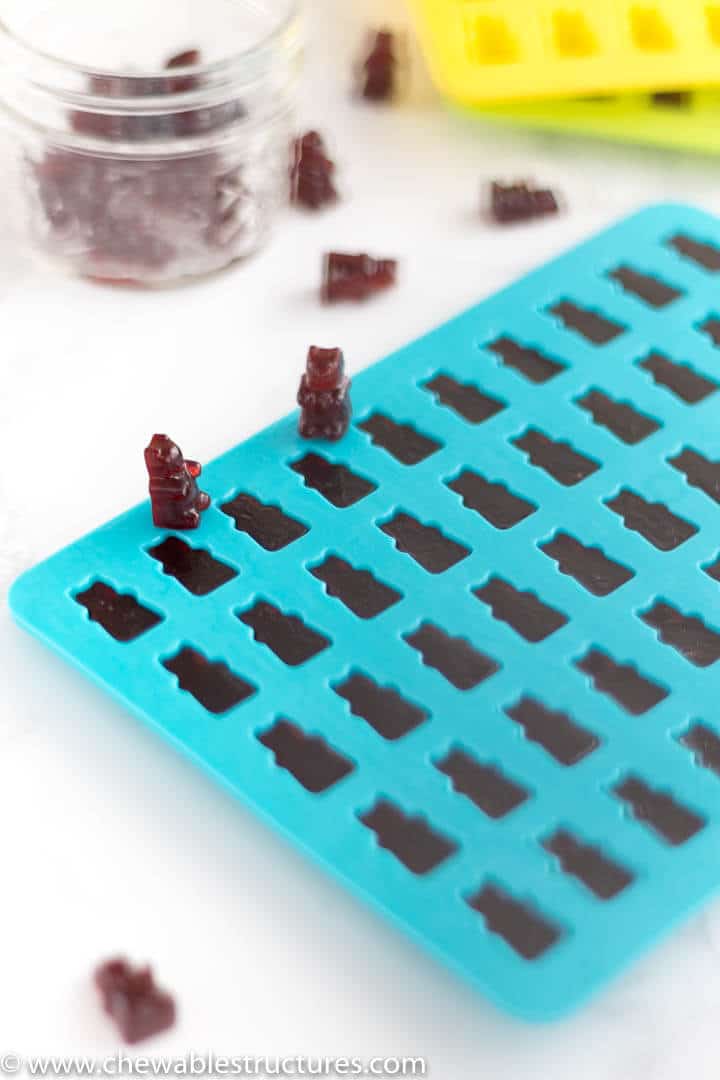
Tip 6: Don’t Fill The Gummy Candy Bear Mold To The Very Top
If you want pretty gummy bears, fill the gummy bear mold just below the top edge. I like to leave around 1 mm space at the top. This way the backside of your gummy bear will have a clean flat surface. In the below image you can see the gap at the top.
Tip 7: Gently Shake The Gummy Bear Candy Mold
After you pour the gummy mixture into the candy bear mold, gently shake the entire mold to help pop any strangling bubbles in the mixture.
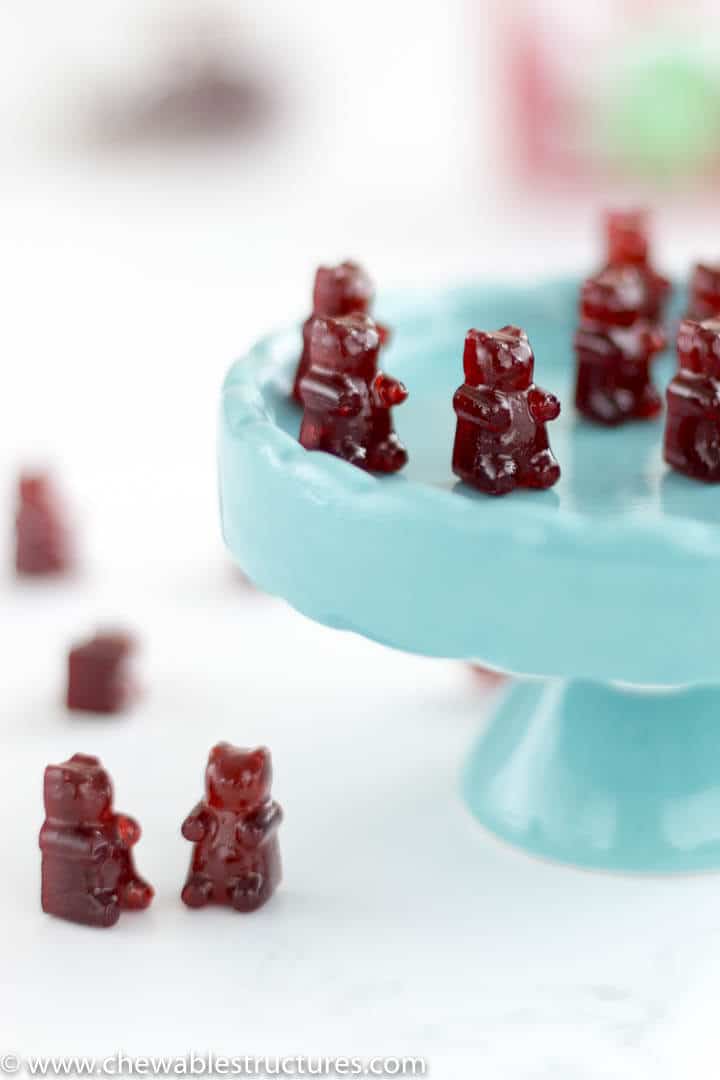
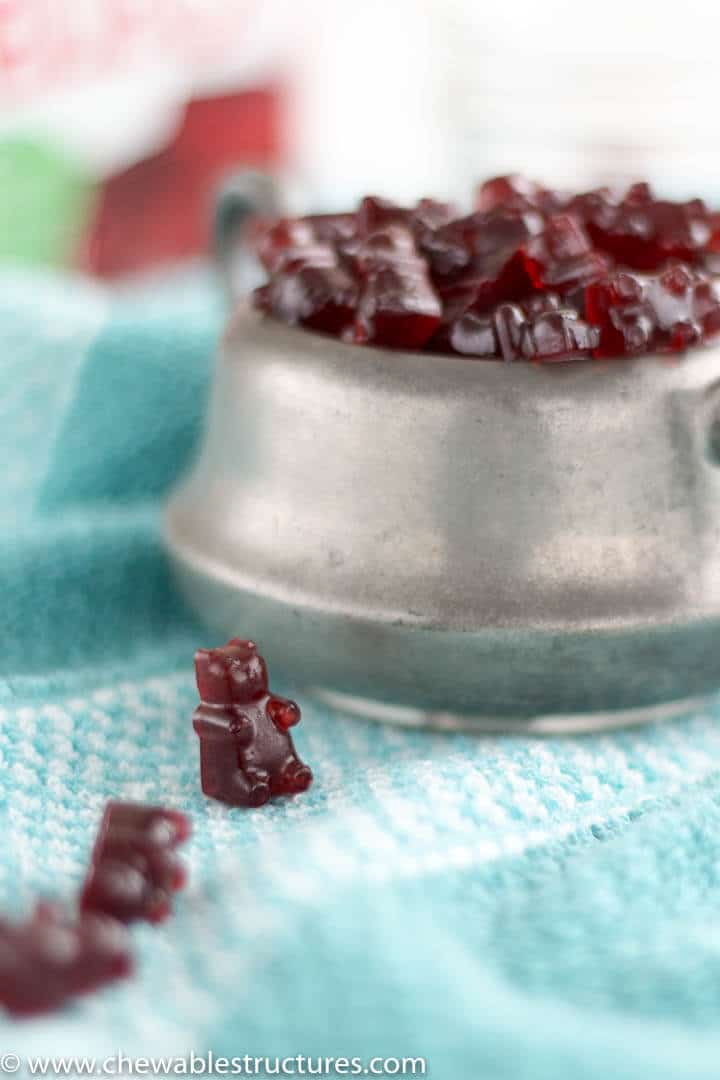
Check out this adorable cherry gummy bear! It's easy to learn how to make gummy bears at home.
What Are Gummy Bears Made Of?
These homemade gummy bears are made of a few simple ingredients.
- Vegetable oil
- Water
- Gelatin
- Corn syrup or honey (see notes below)
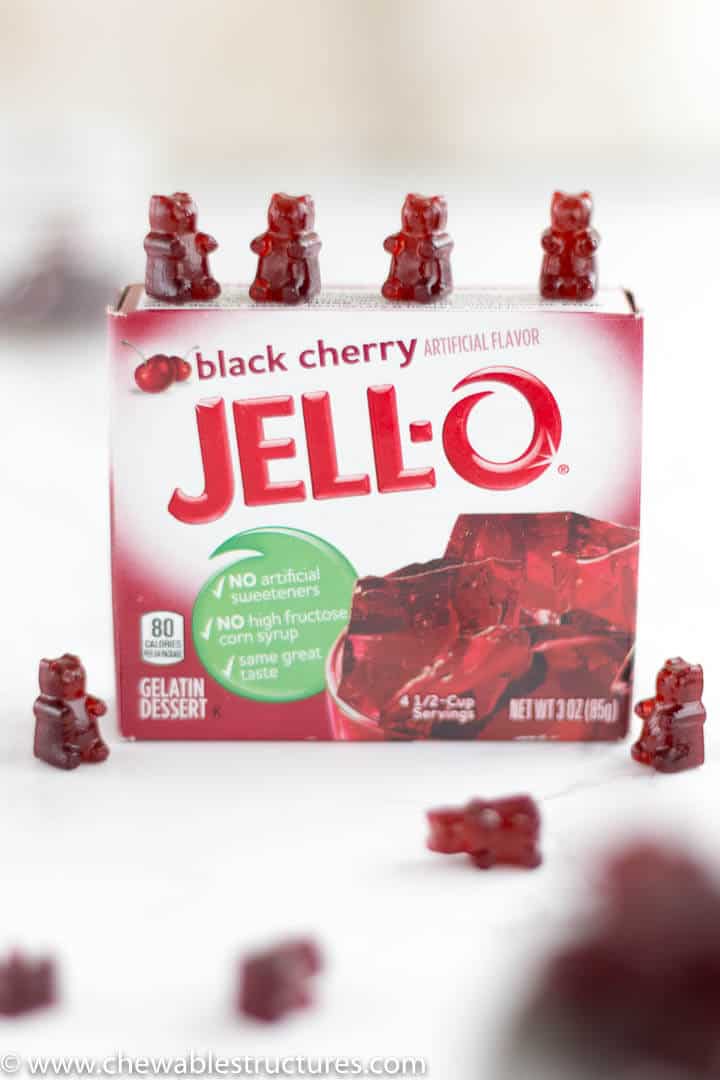
- Jello mix
In this recipe I'm using black cherry Jello mix, but you can use your favorite Jello mix to make your favorite gummy bear flavors! During the holiday season, I like to make red, white, and green gummy bears. Check out my black cherry gummy bears below just chillin out.
How are gummy bears made?
Making gummy bears at home is easy. It consists of four stages:
- prepping your gummy bear molds with oil
- mixing the gummy bear ingredients on medium low heat
- pouring the gummy mixture into the gummy bear molds and letting it set in the fridge
- setting in the fridge
Check out the full recipe below.
Tools to make gummy bears (Amazon Affiliate Links)
- Gummy Bear Molds
- 4oz Plastic Squeeze Dispensing Bottles
- Vegetable Oil Spray or Silicone Brush
Corn syrup vs honey
You can use corn syrup or honey in this gummy bear recipe. Just keep in mind that honey has a strong flavor whereas corn syrup is more muted. For a mild honey flavor use clover honey.
Gummy bear recipe vs gummy brick recipe
This homemade gummy bears recipe is softer and less chewy compared to my other gummy brick recipes, which include more gelatin. The recipe for this 11-layer gummy pyramid made of stackable gummy bricks has more gelatin because each brick is designed to support the weight of the other bricks. Since you won’t be stacking these gummy bears, I reduced the gelatin.
If you want the gummies to be more chewy, double the gelatin to 2 tbsp (but don't add more than that otherwise the gelatin flavor will overpower the Jello flavor).
Homemade gummy bears as food gifts
Did I mention edible gifts? Check out how adorable this looks. All I did was pack my freshly made gummy bears into a small mason jar and tie a green ribbon around the lid. To make the DIY gift tag I wrote"Homemade Gummy Bears" on a blank tag and slapped on a sticker of a present. Simple, yet adorable!
The gummy bears will last up to 2 weeks in the fridge if you store them in an air tight container, like this mason jar with a lid.
Supplies to make gummy bears as food gifts
- Small mason jars with lids
- Thin ribbon
- Blank gift tags
- black felt marker
More Gummy Candy Recipes
- Pyramid Made of Stackable Gummy Bricks
- Christmas Tree Made Of Gummy Bricks
- Fourth of July Flag Made Of Gummy Bricks
Disclaimer:
* All products purchased by me. Please note that all my links should be considered affiliate links, which help support this content. Thanks for your support!
How To Make Gummy Bears
Ingredients
- Vegetable oil spray
- 1 ⅓ cup warm water
- 1 tbsp gelatin
- 2 ½ tbsp corn syrup (or clover honey)
- 3 oz Jello powder
Instructions
- Place all the gummy molds on a baking sheet. Spray vegetable oil on the gummy bear molds. (see tip 1)
- Add the water and gelatin to a small saucepan. Whisk until combined. Heat up on medium low heat.
- Add the corn syrup (or honey) and stir until combined.
- Add your favorite Jello powder and gently stir until all of the Jello powder disappears. It should take around 1-2 minutes.
- Remove the pot from the heat and let it cool for a few minutes.
- Using a small spoon, skim the surface to remove the top foam (similar to the way you would remove oil from gravy. (see tip 2)
- Pour the gummy mixture into the plastic squeeze bottle (see tip 3 and 4).
- Carefully squeeze the gummy mixture into each crevice of the gummy mold. (see note 5)
- Place the gummy molds in the fridge to set for 20 minutes, then pop the gummy bears out of the mold.
- Store gummy bears in an airtight container in the fridge.
Leave a Reply